
You do not have to read everything in one sitting. We recommend using it like a handbook:
- When you first get your floorplan: Start with “The Floorplan” and “Your Lifestyle”.
- Before meeting IDs or contractors: Read “Meeting And Choosing Your Interior Designer” and “Digesting Your Quotation”.
- When work is about to start: Refer to “Prepping For Start Work” and “The Building Process”.
- Getting ready to move in: Skip to “Post-Reno”.
You can highlight, scribble, dog-ear, or save screenshots. This is your working guide, not a coffee table book.
The Floorplan
Everyone’s journey starts from the same place: the floorplan.
It tells you:
- What you are working with
- Where the walls are
- What can or cannot be hacked
- How spaces are currently divided
Quick basics to know:
- Thicker, bold walls are structural and cannot be hacked.
- Beams are not shown in the floorplan, but they cannot be hacked either.
- Existing toilets and kitchens are usually located around the same shaft, so full relocation of wet areas is often tricky, costly, or not allowed.
Your Lifestyle (not just your layout)
Most people start with furniture:
“Shoe cabinet here, bed here, TV there.”
We prefer starting with your life instead:
- How do you move through the space every day?
- What are you carrying in your hands?
- Where do you usually dump your bag, keys, parcels?
- How do you relax, host, work, cook, get ready?
When you design for habits instead of just furniture, your home feels like it fits you from day one.
Below, we will walk through each key area, not just by what “should” be there, but by how you might actually live there.

Foyer
Your entrance is your “first 10 seconds” of home.
Ask yourself:
- Do you want it simple and calm, or do you want it to set the tone for the whole house?
- Do you usually leave daily shoes outside, or do you prefer to keep them inside?
- What do you always need when you leave the house and where do those things currently land?
Practical things to consider
Shoe cabinet placement
Do not just plonk a huge box next to the main door. Think about:
- Do you need an open toe kick so your daily shoes can slide underneath?
- Do you need a bench to sit down and wear your shoes?
Drop zone
A small ledge or drawer for keys, wallets, access cards, parcels and mail is often more useful than extra shoe storage.
Mirror(s)
If you have a long foyer, a full height tinted mirror can make the space look larger and give you a final outfit check before you head out.
Living Room
The living room is often where everyone gathers, but “gather” can mean very different things to different people.
Ask yourself:
- Do you actually watch TV here, or is it more for conversations?
- Are you into movie nights and gaming, or more into reading and long chats?
- Do you host big groups, or is it just two of you most of the time?
Some layout ideas
Conversation-focused
Two sofas facing each other with a coffee table in between. Great if you rarely watch TV and prefer talking.
Movie and gaming-focused
Sofa facing TV or projector screen. If you want the best of both worlds, a projector that comes down only when needed can free up the wall visually.
Devices to plan for
TV, wifi router, gaming consoles, soundbar, subwoofer, cable box, maybe a media PC.
If you want to conceal wires, you will likely need:
- A partition wall (more cost-effective, less design flexibility), or
- A carpentry feature wall (more design options, can double as storage).
If you want a recliner sofa, make sure there is a power point nearby. This is an easy thing to miss.
Robot vacuum tip
Living room cabinets are a great place to “dock” your robot vacuum. You just need:
- A small opening at the bottom for it to go in and out
- A power point inside
Take note: do not place a robot that needs direct water inlet or outlet inside a closed cabinet.
Kitchen
We love kitchens because they are usually where the invisible bonding happens.
Cooking for someone takes time, effort and care. As smells start drifting out, people wander in, ask what you are making, sneak a taste. It is a very human, very warm moment.
When it comes to the kitchen, the flow we like is:

Key questions
- Do you cook often or only occasionally?
- Are you okay with smells and smoke drifting through the house, or do you hate it?
- Do you want appliances always out (for convenience) or hidden (for aesthetics)?
Appliance planning
List all your appliances: air fryer, rice cooker, toaster, coffee machine, kettle, stand mixer, etc.
Decide which ones:
- Stay on the counter, plugged in and ready
- Stay inside cabinets, taken out only when needed
Be honest: are you really going to store them away after every use?
Kitchen enclosure
If smells and grease bother you, consider enclosing the kitchen with glass and a proper swing or sliding door.
If you cook rarely, a semi-open or open concept may still be okay.
Hood choice
Slimline hoods
- Look sleek, can be hidden behind top cabinets.
- Weaker in suction, not great if you fry often.
Chimney hoods
- Usually stronger and more effective.
- More visually “present”, often stand alone without cabinets covering them.
- If you cook often, we lean towards function first so we’d recommend this option, then find a more aesthetically pleasing chimney hood to balance things out.
Dining Area
Your dining area can either blend into your kitchen or stand on its own.
Ask yourself:
- Do you like chatting with people while you cook?
- Or do you prefer cooking quietly and only sitting down together once food is served?
If you want it connected to the kitchen:
- Consider an island or peninsula:
- Friends and family can sit there, sip wine, snack, and chat while you cook.
- It can act as a food landing zone before dishes are moved to the dining table.
- You can also use it as:
- Breakfast bar
- Work-from-home spot
- Kids’ homework station
If you prefer it as a separate zone:
- Especially if the kitchen is enclosed, you can treat the dining area as its own “scene”.
- A dry kitchen beside the dining table can double as:
- Breakfast station in the day
- Cocktail bar or dessert station when hosting at night.
Home Study
This is where your daily reality shows. Look at your current work table and answer honestly:
- How many monitors do you have?
- Is your desk always messy?
- Do you need lots of storage, or do you work better with a clean, minimal setup?
On Storage planning
If you need storage:
- Side drawers under the table are great for daily-use items.
- Overhead cabinets work well if you want a sit-stand table.
If you dream of a full wall bookshelf, think about:
- How much you actually read or reference physical books.
- Whether you also want to display decor, travel souvenirs, or collectibles.
On Work style
- Do you work best with warm, cosy lighting?
- Or do you prefer bright, white “office” lighting?
- Do you need good acoustic separation for calls?
If there are two of you:
- Do you both take calls?
- Can you work side by side, or do you need some separation?
- If your aesthetics clash, what does a “middle ground” look like?
Your study is where you will probably spend the most waking hours on weekdays. So design around your real habits, not just Pinterest pictures.
Master Bedroom
Obviously this is where you sleep. So ask yourself:
- How do you usually fall asleep?
- Watching TV?
- Reading?
- Doom scrolling until you fall asleep with the same TikTok video playing on repeat until it rudely awakens you two hours later so you can turn off your phone and properly sleep?
- Are you a light or heavy sleeper?
- Does your partner have the same habits? If not, what does middle ground look like?
Budget-wise, decide how important the bedroom is compared to other spaces.
- If you spend most of your time in the study and living room, it is okay to keep the bedroom simpler.
- If the bedroom is your main sanctuary, it might be worth investing in more thoughtful carpentry and lighting.
Things to consider
Lighting
Warm ambient lighting, bedside lamps, or cove lights make a huge difference to how restful a bedroom feels.
TV or no TV
If you want a TV, think about wall mounting, wire concealment, and where the sockets go.
Vanity
If you do makeup or grooming, consider putting a vanity table outside the bathroom. Getting ready in a freshly steamed-up toilet can be uncomfortable, and you usually end up sweaty again.
Kid’s Room
The first word that comes to mind when talking about designing a baby room/toddler room/human-being-below-the-age-of-10 room, is flexibility.
Our approach: Usually just the wardrobe built-in, and placed in the most logical spot (often beside the room entrance). Everything else, and we mean EVERYTHING, should be loosely purchased. Bed frame, study table, bedside table, bookshelf. Why? So that when your kid grows up and have a mind of their own, it’s easy to buy new ones, or they can simply relayout the room to something new that they like.
Colour Choices
Stick to neutral base colours for walls and built-ins: Wood tones, creams, whites, off whites, or a combination of them.
You’d be tempted to use gender-specific colours or designs, but the problem is not every boy likes blue, and not every girl likes pink. And once your wardrobe is built, your walls are painted, and all your furniture is positioned, it’d be a huge hassle to change the colours when your kids grow up and start having their own minds about colours and design.
Instead, add colour through the soft furnishings: bedsheets, rugs, curtains, posters, toys. These are easy to change when your child decides they are no longer into dinosaurs or princesses.
Toilets
Ok this is the last one of the pack. What do you do in the toilet? Pee, poop, shower, do makeup, shower thoughts, alone time?
More questions to ask:
- Do you get the ick from wet floors?
- Do you have many skincare and haircare products?
- Do you like everything hidden, or are you okay with some things on the counter?
Things to think about
Wet and dry areas
If you hate stepping into a wet toilet just to pee, plan for clear wet/dry separation and proper shower screening.
Storage
Mirror cabinets are great for hiding products and keeping counters clearer.
Shampoo niche
A wall niche (instead of bottles on the floor) saves your back and looks cleaner.
Ventilation
An exhaust fan helps to clear warm, humid air faster, especially if you are doing makeup or hair in the toilet (so you’re not all sweaty at the end of everything).
Working With Interior Designers
So now that you’re really clear about what you want in your house, you’re ready to meet your potential interior designers.
An interior designer’s job is to:
- Understand your lifestyle, priorities and constraints.
- Translate them into a layout, materials, and details that work in real life.
What they are not supposed to do is pluck your preferences out of thin air.
A good interior designer will ask you many questions - why do you want to do this, why do you want to do that, what is it you’re trying to achieve. And with a much deeper understanding of your lifestyle, they can help you break down whether the things you want make sense, or if there are better alternatives.
We always say:
The quality of the design depends on the quality of the brief.
And the brief is a shared effort between you and your designer.
Where to find interior designers?
Find potential interior designers in the following order:
- Let the social media algorithm serve you - start searching “interior design singapore” or “renovation singapore” and look through all the different posts that catches your eye. You can start liking and saving posts by ID firms that you like, and then let the algorithm work its magic.
- Get recommendations from family and friends - I’d normally put this first, because these interior designers have been tried and tested by people you trust, but I realise who’s great for your family and friends may not be the best match for you. So letting the algorithm show you interior designers may actually be better, because scarily enough, the algorithm may know you better than you know yourself. And it might recommend you interior designers that are matchy with you.
- Get random interior designers from renovation platforms. Like Qanvast, EZiD, Renonation, Sixides etc.
How to choose your interior designer
If you prefer a systematic way, you can literally score each designer you meet.
Rate each out of 20:
01. Rapport (20)
- Do you feel comfortable talking to them?
- Do they take time to listen to what you want?
- Do you think you’ll enjoy communicating with them for the next three to six months?
02. Professionalism (20)
- What was the standard of the interior designer’s proposal?
- Do they put in effort in their design thinking, spatial planning, and problem solving?
- Do they take note of the little details?
- Did they present in a clear and structured manner?
- Do they give you confidence that they can execute the project in a timely and structured manner without missing out the details?
03. Design Alignment (20)
- Was the interior designer able to capture what you want in terms of the aesthetics of the house?
- Was the mood board or proposed design aligned with what you wanted?
- Did they make you feel excited about how the house will turn out after the renovation?
04. Technical Knowledge (20)
- When you asked technical questions about renovation execution, materials, how to coordinate the different moving parts, pros and cons of different ways of doing things, was the interior designer able to answer you quickly and confidently?
- Were they able to give you an idea of how the whole renovation will be executed?
05. Budget (20)
- This one is straightforward. The cheaper the total project amount, the more points you award. But of course you need to take into consideration if the quotations contain the same scope of works across the different interior designers.
Score all the interior designers you meet based on the above rubric and out of a total of 100, and the one with the highest score should technically be the best one for you.
Digesting Your Quotation
Just so you know, interior designers make money by:
- Charging you a design/coordination fee; OR
- Charging a percentage markup on subcontractor costings; OR
- A mix of both.
Our recommended approach is to ensure (to the best that you can) that the quotation has included all the necessary scopes of works, and then to see if the final number is within your budget. How the individual items are priced are not critical in our opinion, and fixating over those individual prices will give you more pain than help. Why? Because different interior designers mark up differently, it is not a standardised markup consistent through all the different scopes.
Interior Designer A may apply a consistent markup across all the items, with a final cost of $50,000.
Interior Designer B can do it in such a way that “Hacking” costs $50,000, and all other items are free of charge (FOC). The final cost is also $50,000.
This is obviously an extreme example, but it shows how prices for the same scope of works can vary across different interior designers. Some interior designers may also choose to mark up carpentry using a higher percentage, and tiling using a lower percentage, you’ll still end up at $50,000. They’re just sales tactics playing on consumer psychology, so don’t let these things distract you from the real thing:
Is this interior designer someone I can work comfortably with? Did he/she propose a design I like? Has the quotation included all the scope of works I want; and are all these things within what I am comfortable to spend?
Also, to know if a quotation is lacking anything, compare a few quotations side by side. If two out of three quotes include for e.g “make good wall after hacking”, and one doesn’t have it, that missing item is probably why one quote looks “cheaper”.
Payment Milestones
After you’ve chosen your interior designer and confirmed the scope of works and quotation, it’s time to think about payment milestones and the 3D rendering process. If a designer asks for a very large upfront deposit, that is a red flag. A more balanced structure could look like this:
- Deposit upon signing of contract (non-refundable): 10%
- First day of reno: 45%
- Carpentry measurement: 40%
- Handover: 5%
You can use this as a reference and discuss with your ID if their default schedule is very different.
3D Rendering
Every firm handles 3Ds differently, so ask clearly before signing:
- How many views are included?
- How many rounds of changes are allowed?
- Are there extra charges for 360 views or more detailed renders?
At Nuo Form, for example, we usually:
- Provide a set of perspective drawings* with multiple views
- Include 1 initial set of drawings and 2 rounds of amendments
- Offer 360* views as an optional add-on (they cost a little more as they are more complicated)
*Perspective drawings are still pictures, 360 views allow you to turn the camera around and see everything. By default, a set of drawings can have 6 to 10 different views. A “view” refers to one area that we’re trying to show. A BTO project typically has about 8 different views.
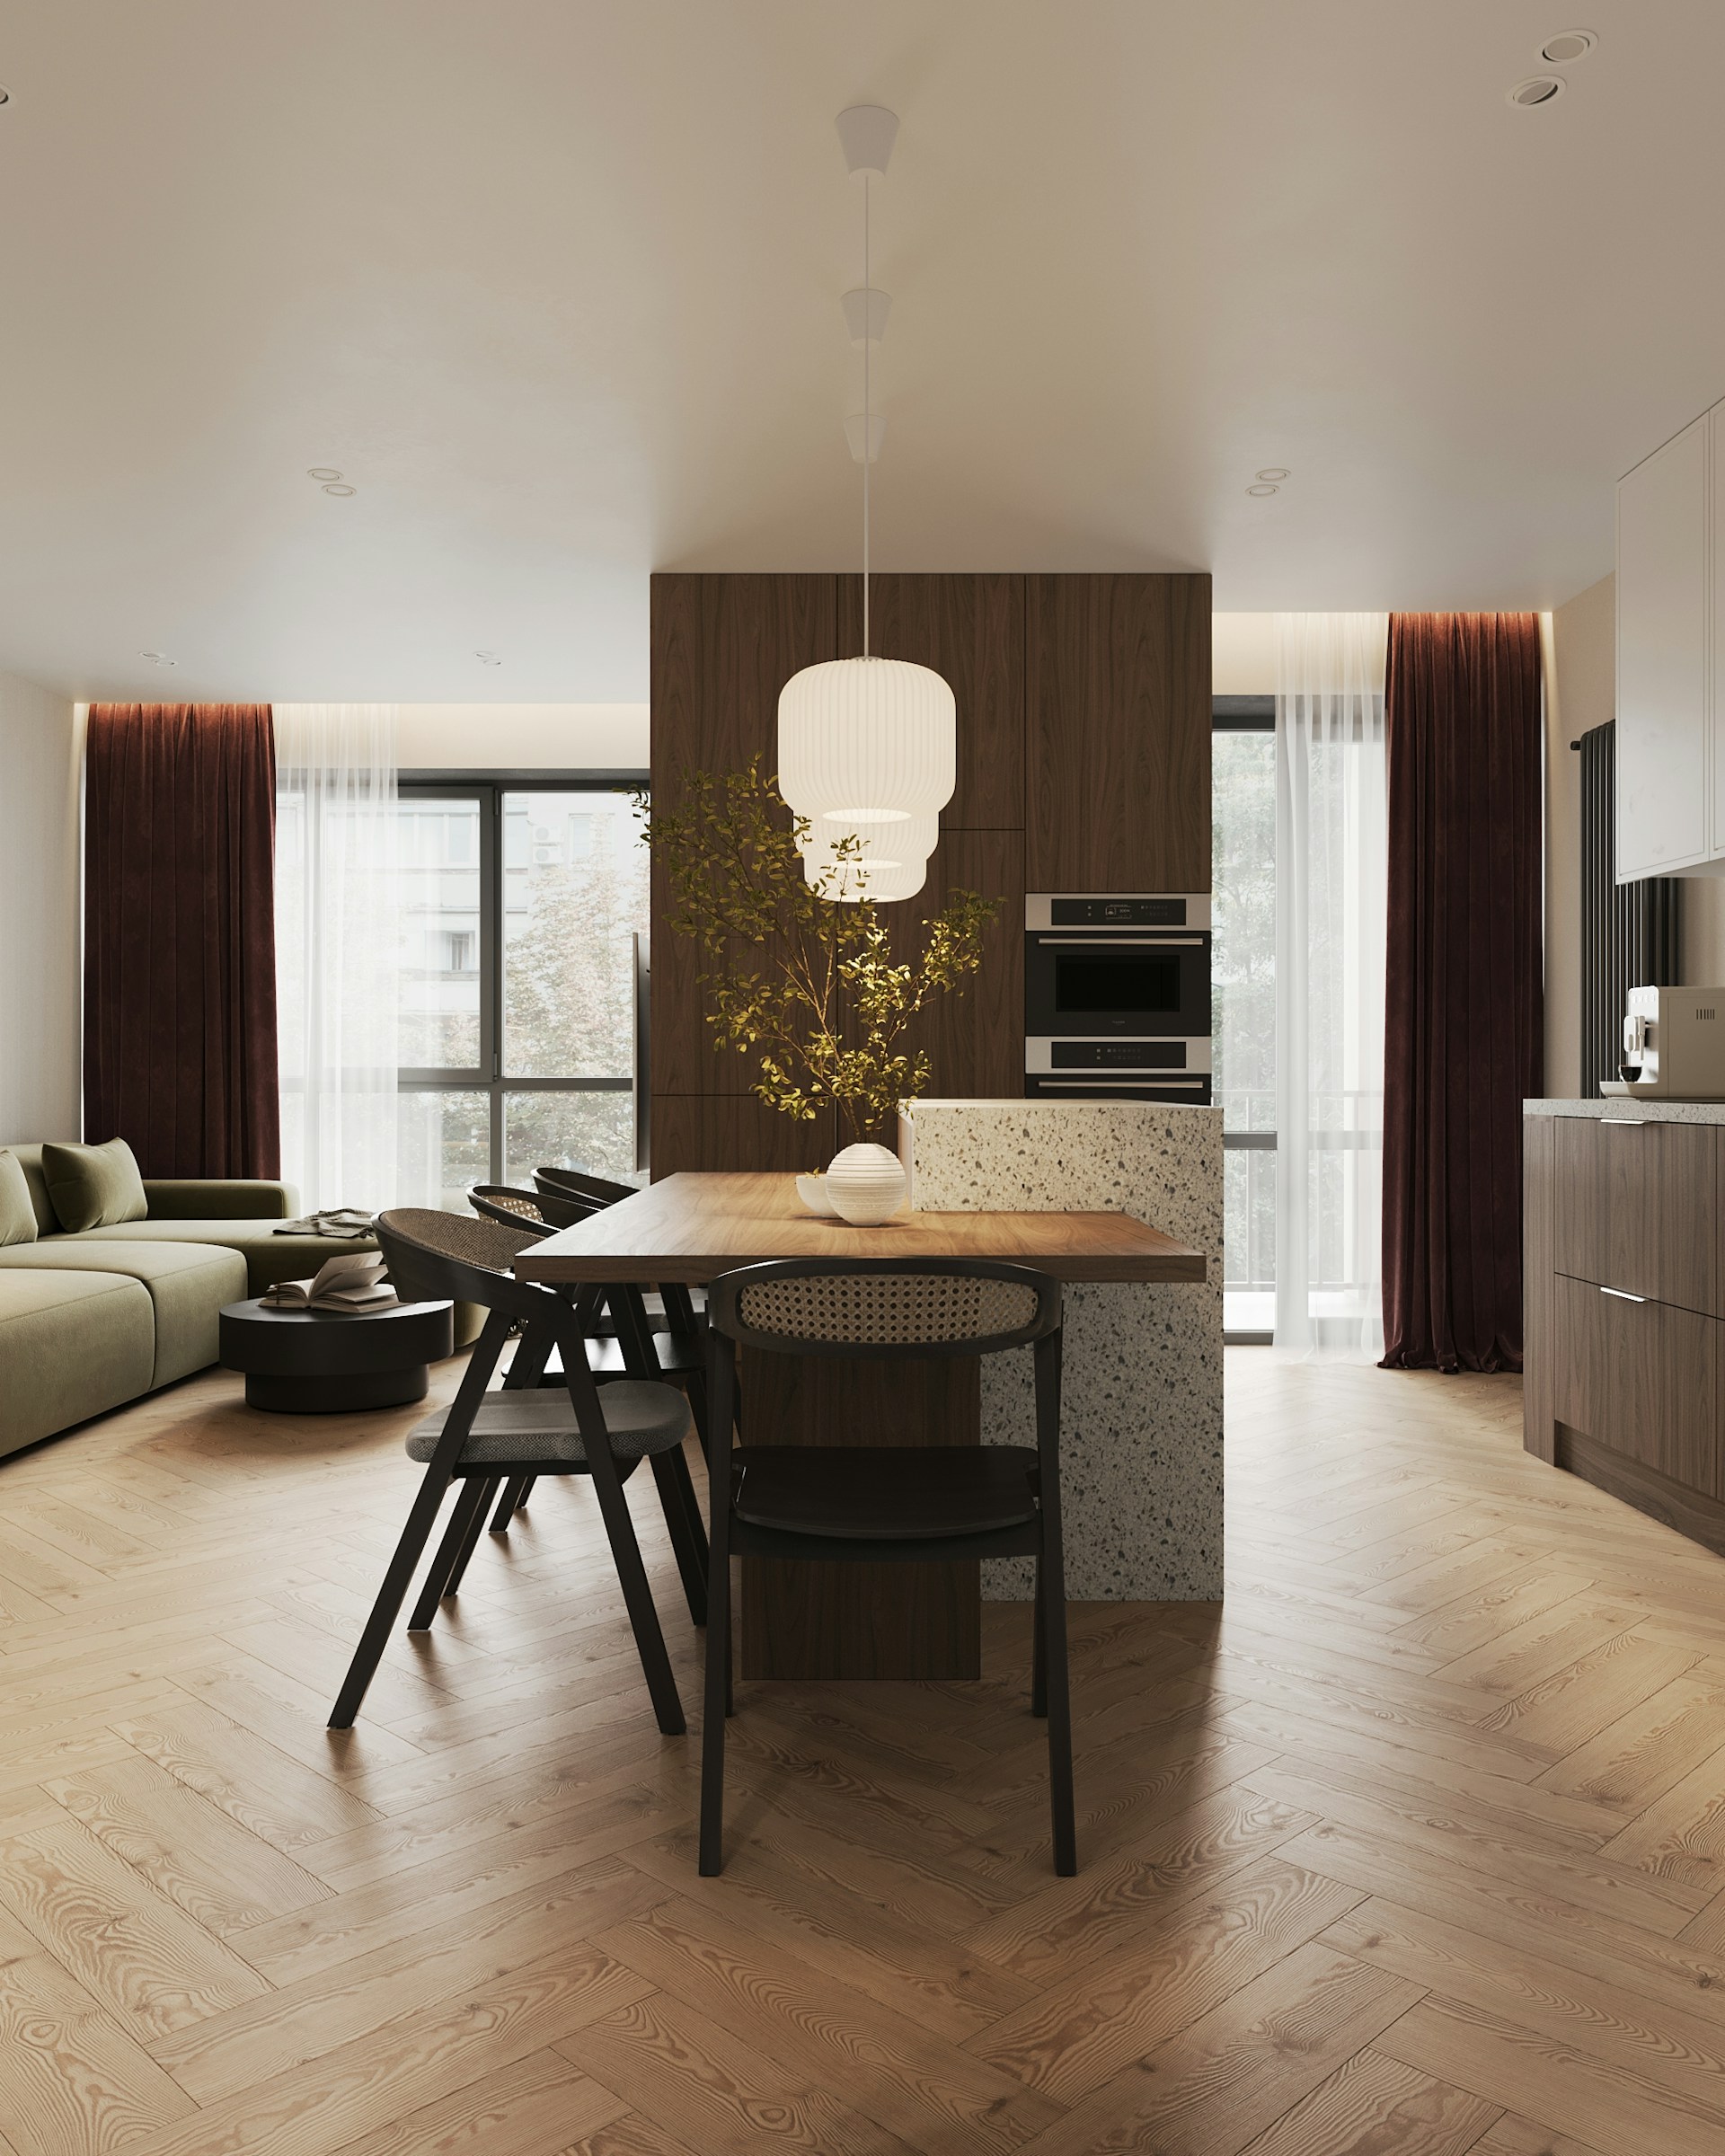
Below are two examples of 3D rendering views:

It’s quite common for the first set of drawings to need some big amendments here and there - as long as they’re not ridiculously off the mark. Because at the start, it is difficult for you to visualise everything together out of thin air. So the first set of drawings will give you something concrete to feedback to your interior designer.
Use your amendments to get closer to what you want:
- “Can we try a lighter wood here?”
- “Can this wall colour be a bit more muted?”
- “Can the lighting feel warmer?”
If you have specific furniture pieces you already own or love, show your ID. They can usually render something similar in.
Prepping For Start Work
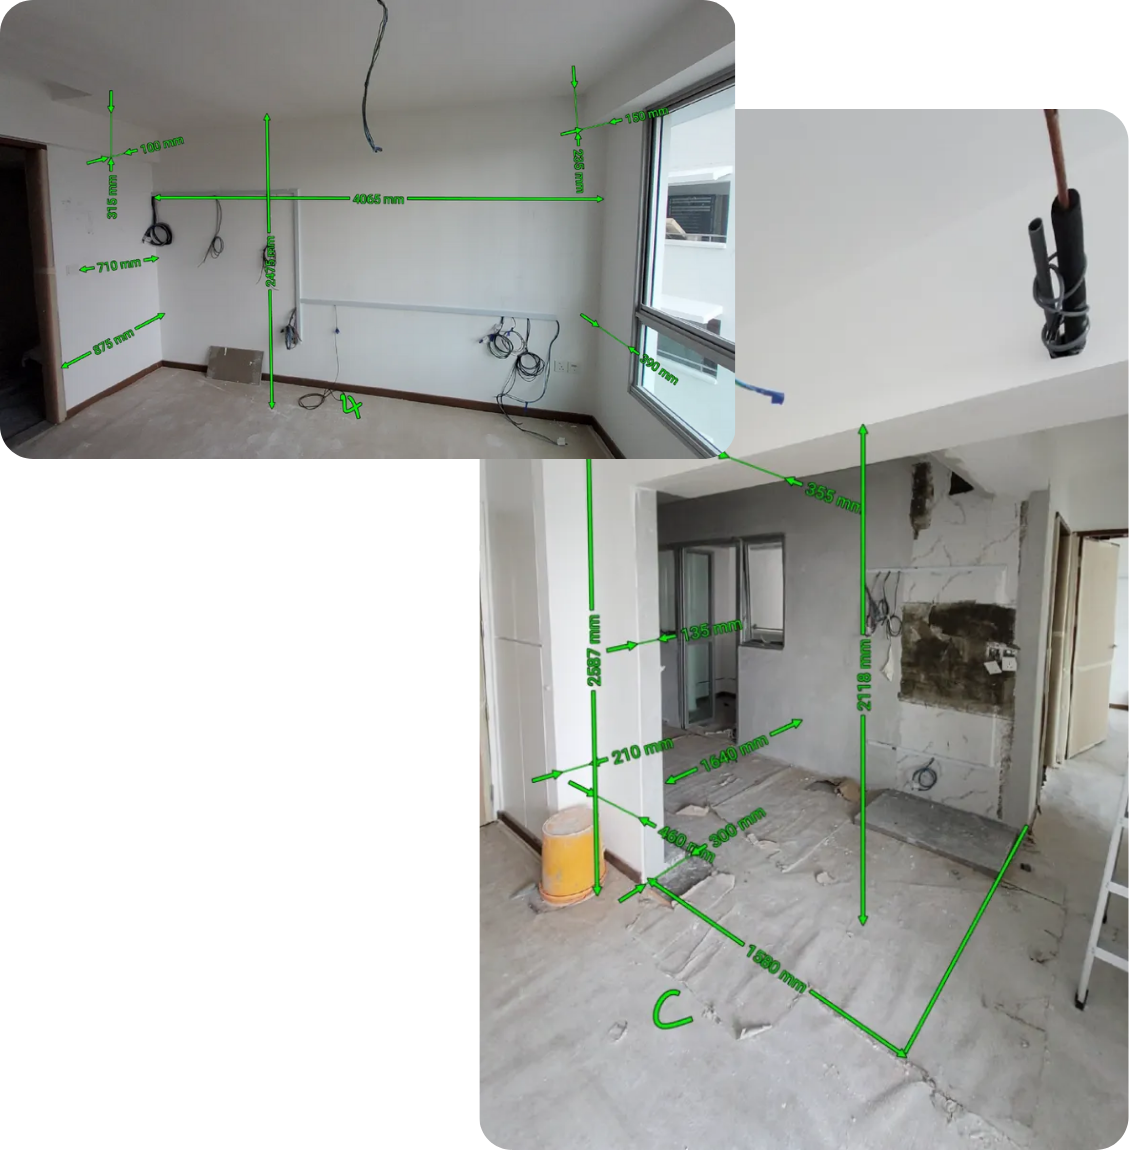
While 3Ds are being finalised, there are a few other important things happening in the background. Your interior designer should
- set up a site meeting with himself/herself, the electrician, and aircon contractor (if necessary).
- Apply for HDB or condo MCST renovation permits well in advance, so that work can start on the agreed date without hiccups.
At the site meeting:
The contractor will
- Understand your air conditioning needs, and plan how the aircon units should be run.
- He should explain how the gas and water pipes will run, and
- Walk through the pros and cons if there are multiple pathways to run the aircon pipes.
The electrician will then
- Run through your electrical requirements of your whole house, going from area to area. This is where your interior designer will be involved too, advising the electrician on the layout and design of the house, and the electrician will use that information to discuss with you and advise you on the electrical should-haves.
- Plan the number of sockets needed, lighting plan, and the relevant switches for the lights and devices.
This is where all your earlier thinking about lifestyle becomes very useful!
After this, the aircon contractor and electrician will send you their quotations. And then good practice would be for you to make the start work payment a day before the actual start date, so there are no delays.
The Building Process
After you’ve gotten your 3D renders, and all the prep work has been done, the only thing left is to wait to start work! This is where you generally leave the work to your ID to execute the design vision, and trust in them to get it done.
Your ID should give you a rough schedule. It will always shift a little in real life, but this is what a typical resale unit schedule might look like if you are doing most works:
Note: New BTOs, condos and lighter scope projects will have shorter or slightly different sequences.
Hacking and haulage (~7 days)
- 5 days for actual hacking, 2 days for debris removal and bringing in materials.
- Make sure all relevant permits and Professional Engineer (PE) endorsements are approved before hacking starts.
-
Electrical wiring (~ 2 days)
Some electrical wiring needs to be concealed in your walls/tiles, so this is typically done before tiling.
Plumbing (~ 2 days)
- If you decide to do concealed piping in your kitchens and toilets, this would also need to be done before tiling.
- Take extra note that if your pipes are concealed, and you change your mind it would require hacking and redoing of tiles, which would cost additional money and time.
-
Tiling (~30 days for entire house)
- Generally 30 days to tile the whole house floor tiles and wall tiles for a 4 room HDB (can be shorter or longer depending on which areas you’re tiling)
- Discuss with your ID before tiling starts if you are particular about
- alignment of tiles
- grouting
- tiles that need to be cut when reaching the end of the wall
- or if you have very specific preferences on your tiling
- Waterproofing should be done, with a ponding test to ensure there are no waterproofing failures.
- All wet areas should have an “upturn” of 300mm,
- Shower areas waterproofing should go up to 1500mm.
- Be careful how you’re terminating the tiles if you have different tiles in different areas, like tile A for living room and tile B for bedrooms. We like to use aluminium trimmings to terminate between the two different tiles (you can choose the colour of the trimmings).
- Also, do take note where the different tiles terminate. Because you’ll have doors for all your bedrooms, you need to ensure that the tiles terminate below the door (door thickness is usually 40mm). So that when the door is closed, you don’t see two different tiles.
- Lastly, grouting colours can be chosen as well. So grouting colours can be a design choice, either to find the closest matching colour, or an intentional colour to stand out.
-
False ceilings and partitions (~ 2 to 5 days)
This scope is quite straightforward, there isn’t much to look out for, just ensure that any false ceilings, cove lights, partition walls, aircon and curtain pelmets are done as planned.
Carpentry measurement (~ 2 hrs)
- This is not something you need to be present for, your interior designer just needs to communicate with the carpenter and they’ll measure the relevant areas.
- We generally split the renovation into two major phases: all works before carpentry measurements, and all works after carpentry measurement. Because carpentry fabrication takes the longest, we try to reach this milestone as soon as we reasonably can.
-
Carpentry discussion between you and interior designer (~8 to 10 days)
- 4-7 days for your interior designer to start drawing out some drafts for discussion / 2-3 days for your interior designer to make amendments and for you to look through and confirm the final carpentry plan for fabrication.
- This is where you confirm interior configurations: e.g. Wardrobe hanging vs shelving vs drawers; Kitchen cabinet heights and widths
- The best way to think about how to configure your carpentry is to look at how you’re currently doing things. How does your wardrobe configuration look like? Do you need more hanging clothes space? Or do you need more drawers for undies? Are you struggling with making your mind now because you don’t know what you’re gonna store? Do you want some flexibility*?
- Also make sure your cabinet doors don’t clash with aircons, beams or fans (asfdkljakfljaskf I made this mistake one too many times).
*If you answered yes to this, you can consider topping up a small amount to use A/A adjustable shelf tracks, so you can shift them up and down to whatever positions you want.
Painting(~ 3 days)
Nothing much here, just ensure colour codes are correct. You can opt for painting swatches on the walls in your home to see the actual colours, take note that there will be small costs for the swatches.
Vinyl flooring (~ 4 days incl. drying time)
- 1 day for self-levelling, 2 days for vinyl laying, 1 day for self-levelling to dry and harden.
- If you’re doing vinyl in the bedrooms, and tiles in the living room, the tiler will need to lay cement screed as the base (if you’re a standard BTO, or full hack). Just ensure that the space left by the tiler between the cement screed in bedrooms and finished tile in living room is correct. For e.g., if self-levelling is 2mm, vinyl is 5mm, there needs to be a 7-8mm drop from the finished living room tile floor.
- As for terminations of vinyl flooring, there are two options:
- PVC trimmings - will have matching wood grains
- Aluminium trimmings - just colour
Windows, Doors, and Shower Screen (~ 2 day)
- 1 day for measurements and 1 day for installation.
- These can be installed whenever, they don’t have much conflict with remaining works.
First round of electrical installations (~ 1 day)
Electrician can install lights first, and any other electrical stuff that’s not related to carpentry.
Carpentry installation (~ 14 days)
- Carpenters will usually install the carpentry that has countertops first, so your countertop guys can come measure and start fabricating countertops while your carpenters continue installing the remaining carpentry.
- Nothing much to do here, you can pop by mid-installation just to check that the carpentry has been fabricated according to plan.
- Take note that before the carpentry installation has been completed, you’ll probably see things that look “wrong”. Most times they’re not wrong, it’s just not completed yet. Give it a little time - a lot of things only make sense when doors, handles and final touches are in.
Countertop measurement (~ 1 day)
Usually done within a few days of carpentry installation.
Countertop and doors (~ 1 day)
- Countertops are typically installed within 7 days after measurement, check that colours installed are correct
- We recommend installing main room doors 1 week after carpentry installation, just so we avoid damaging the doors when carpentry is brought into the house for installation.
Plumbing installation (~ 1 day)
- The plumber will install all sanitary fixtures, like your sinks, taps, toilet bowls, shower sets and accessories.
- You’ll usually need to be there with the plumber so he can know where you want to mount your toilet accessories, or you could pre-mark the positions with your interior designer.
Final electrical installations (~ 1 to 2 days)
Painting touch up (~ 1 day)
Cleaning (~ 1 day)
- Even after a professional clean, dust will continue settling for a while. (Yes, even if you engage a deep cleaning contractor with machines and whatnot)
- After the professional cleaning, plan for 3 to 4 rounds of your own wiping, vacuuming and mopping before it really feels fully clean.
Finally, it’s handover time!!
Post-Reno
Congratssssssssssss. Your new home is finally ready! And now the real part begins: actually living in it.
In the first few weeks:
- Note down small defects, adjustment needs, or things that do not feel quite right.
- Communicate these to your ID so they can arrange touch-ups while your warranty and defect periods are clear.
Then slowly:
- Fill the space with your own objects, quirks, routines and memories.
- Let the home evolve with you.


