Renovation is a mix of dream and detail. While the “All You Need to Know” beginner guide helps you decide the what and why of your renovation, this Room-by-Room Cheatsheet is all about the how.
It’s designed to:
- Keep you on track during discussions with your designer,
- Remind you of small but critical details (like sockets and switches),
- Future-proof your home so you won’t regret it after 6 months.
Bring it to site visits, tick things off, and use it as a conversation starter with your ID/contractor.
Entrance / Foyer
The foyer is the first thing you interact with every day when u get home. Small conveniences here (like charging your vacuum or a quick last-look mirror) save frustration later.
☐ Shoe cabinet depth: Generally 400mm total depth (350mm internal depth) should be enough to store shoes up to size US 10. If you wish to keep shoe boxes, then you need to measure your largest shoe box and then add 50mm of space to calculate your needed internal depth. Opt for adjustable shelf tracks to cater to the different dimensions of your shoes.
[Generally if your cabinet measures 400mm in total depth, you need to deduct 50mm (20mm for door thickness, 30mm for space at back of cabinet for tolerance) to get your internal depth - 350mm.]
☐ A niche at waist height (1000mm from floor, internal height 300mm-400mm) as a drop zone for keys, wallets, or anything that you grab before you leave home and drop when you get home.
☐ Leave 250mm gap (so your shin doesn’t knock the cabinet) at bottom of shoe cabinet if you want a kicker space for your daily shoes.
☐ Leave space for a robot vacuum dock (add 500mm - 800mm space above to open up the tank or for general access) and shorten your cabinet door so your robot vacuum can enter and leave the dock.
☐ Full-height mirror for outfit checks (min 2100mm tall), a popular space is above your shoe cabinet settee as a mirror backing.
☐ Power points inside or beside shoe cabinet for Dyson, steriliser or robot vacuum.
☐ Overhead or wall light on motion sensor for hands-free entry. Two way switches beside main door and along bedroom corridor for your entrance light so you can turn off the light at night without having to walk to your main door and back.
Watch out
- Overstuffing your entryway with storage can make the flat feel cramped — keep circulation clear.
- Check that the main door can swing fully open against carpentry (watch out for your door closer too).
- Remember to leave at least 1100mm space in your entryway to shift big furniture in and out.
- Remember to keep your settee as close to the main door as possible (but not behind your door). The further the settee into your living room, the dirtier the “runway” that you’ll need to clean.
Living Room
The living room is your hub — design for flexibility. This is the space where you’ll unwind, enjoy conversations with friends, and have alone time watching TV. You’ll probably take afternoon naps here too.
Checklist
☐ 4–6 power sockets at TV console (TV, router, set-top box, speakers, gaming).
☐ LAN point at TV console for your router.
☐ Sofa walkway clearance: 600mm - 900mm.
☐ TV-to-sofa distance: 65” - 2.5m / 75” - 2.7m / 85” - 2.9m.
☐ Console height: 300mm - 400mm. Console depth: 400mm.
☐ Wall socket nearby for your recliner sofa. Floor sockets are dangerous - water spills.
☐ Lighting in layers: Cove (ambient), downlights (main), floor/wall lamps (art/ambient). Different switches for different layers
☐ Leave space for your curtains - 100mm for just day curtains, 150mm for day and night curtains. Especially for areas where you’re building carpentry or placing furniture.
Watch out
- False ceilings for cove lighting eat into ceiling height - 100mm. Think about how you feel about your ceiling fans if you have a false ceiling.
- Overly large sofas/tables eat into walkways.
Kitchen
The kitchen is where daily annoyances show up fast. Sockets in the wrong spot = messy extension cords. Counters too low = backache.
☐ Countertop height: 860mm - 900mm (customise if tall/short).
☐ Top cabinets height from floor: 1500mm.
☐ Hob–sink–fridge work triangle, 500mm - 600mm between hob & sink for ingredients.
☐ Dedicated power points: Fridge, hob, hood, oven, microwave, dishwasher. Think about where you wish to place your switches for hood, oven, hob, and microwave.
☐ Have a socket pelmet beneath your top cabinets.
☐ LED lighting beneath your socket pelmet as task lighting.
☐ Cater enough power sockets for your appliances. When in doubt, have at least one double power socket for each empty countertop area.
☐ A tall unit to house your oven at waist height to prevent backaches if you bake often.
☐ Water dispenser: decide if you need a water inlet and outlet, or if you’re buying one with a water tank you fill manually.
☐ Cement base to raise your cabinets to prevent water damage.
☐ Waterproofing if you’re hacking and redoing your kitchen floor.
☐ Running a hot water pipe if you want hot water - but think about how you’re heating your water. Gas heater? Storage heater? Where will you place these?
Watch out
- Quartz countertops can stain and discolour easily. Opt for higher end finishes like sintered stone which has higher stain resistance, heat resistance and scratch resistance. They cost more but the investment will pay itself back over time.
- If you’re using a gas hob, remember to get your gas pipe installed before your carpentry installation.
- Induction hobs are great and easier to maintain, but HDB flats’ power only allows for two cooking zones.
- If you have L-shaped cabinets, think about how you wish to manage the corner storage areas. A cost-effective solution would be to use 170 degree hinges, or you can purchase corner baskets.
- If you have a fridge beside a wall, take note that you’re only gonna be able to open your door 90 degrees - so your doors cannot open fully, and it might block your drawers from coming out fully.
- Avoid dark solid colour laminates on your kitchen cabinets. Stains and fingerprints will be super visible on them.
- Ensure your tap extend to roughly half the kitchen sink to prevent splashes onto your countertop.
Service Yard
This tiny space carries a lot of load — from laundry to cleaning supplies. Smart planning prevents daily bottlenecks.
☐ Separate sockets for washer + dryer.
☐ Motorised drying rack wiring (if installing).
☐ Waterproofing if you’re hacking and redoing your yard floor.
☐ Leave 50mm gap behind machines for hoses.
☐ Cabinets (300–400mm depth) for detergents.
☐ An additional deep sink to rinse soiled laundry before dumping them into the washer.
☐ Install windows in your yard to keep out rain and birds.
☐ Door to close out your yard so you don’t have to keep all your clothes when you need to cook.
Watch out
- Don’t cover floor traps - you’ll regret it when there’s a choke.
- Wall light instead of ceiling light, your laundry rack might be blocking the ceiling light.
Bathrooms
Bathrooms are high-use and high-maintenance. Good waterproofing, drainage, and storage prevent mould, leaks, and daily clutter.
☐ Anti-slip floor tiles. Get tiles that are R10 slip rating.
☐ Ensure floor gradients slope to the correct drains, especially when there are wet and dry areas. You should have a drain in each wet and dry area.
☐ Shower niche: 400mm tall, 1000mm from floor, 100mm - 120mm deep.
☐ Vanity height: Top of the sink should be 900mm-920mm from floor. Cater cabinet height accordingly to whether your sink is top mount or under mount.
☐ Mirror cabinet depth: 150mm - 200mm.
☐ Power point inside your mirror cabinet.
☐ Ventilation fan in window.
☐ Water heater accessible.
☐ LED lighting below mirror cabinet.
☐ Shower screen swings outward.
☐ Tiled hollow block walls to block out shower area. Glass shower screens can be a hassle to clean.
Watch out
- Some BTO bathrooms can’t be hacked/re-tiled for 3 years due to waterproofing warranty. Always check HDB restrictions.
- When you hack your toilet floor and wall tiles, your door frame will likely be damaged. The flooring beside your toilet flooring will also likely be damaged.
- Generally, we avoid overlaying tiles if the existing tiles are more than 10 years old. We’re afraid of the old tiles below popping out.
- Think about grout. By default, tilers will use cement grout. You can upgrade to epoxy grout that is stain resistant and doesn’t fall off as easily.
Bedrooms
Your bedroom is both rest zone and work zone. Proper sockets and layouts keep it clutter-free and sleep-friendly.
☐ 2 sockets per bedside (lamp + charger).
☐ Ceiling fan (even if installing AC).
☐ Smart switch/timer for AC auto-off at night.
☐ Wardrobe depth: 600mm.
☐ Bed ↔ wardrobe clearance: 600mm - 800mm.
☐ Desk height: 760mm near window (light on left if right-handed).
☐ Day and night curtains.
☐ Vanity table: 800mm width, 760mm height.
☐ Ensure there is a light between you and the mirror at your vanity table. You don’t want shadows on your face when you’re doing makeup.
☐ Dehumidifier (power socket needed) inside your wardrobe if you’re keeping bags.
☐ Consider two way switches for your lights. One at the bedroom entrance, and one beside your bed.
☐ Wall/hanging lights beside your bed if you wish to read at night but don’t want the bedroom to be bright.
☐ Do you want a TV? Prepare for a single socket on the wall that can be hidden behind your TV (no visible messy wires).
☐ Storage beds are a great idea to keep your luggages or other barang barang.
Watch out
- Open wardrobes = dust accumulation.
- If you’re using pull down clothes racks, remember to factor in extra space between your wardrobe and bed. Check your rack dimensions to figure out how much additional space you need.
- Make sure your curtains/blinds are done in a way that there will be no light leakages from the sides.
- If possible, leave space on both sides for both of you to walk. If you push your bed against the wall, the one climbing into bed will be find it a hassle.
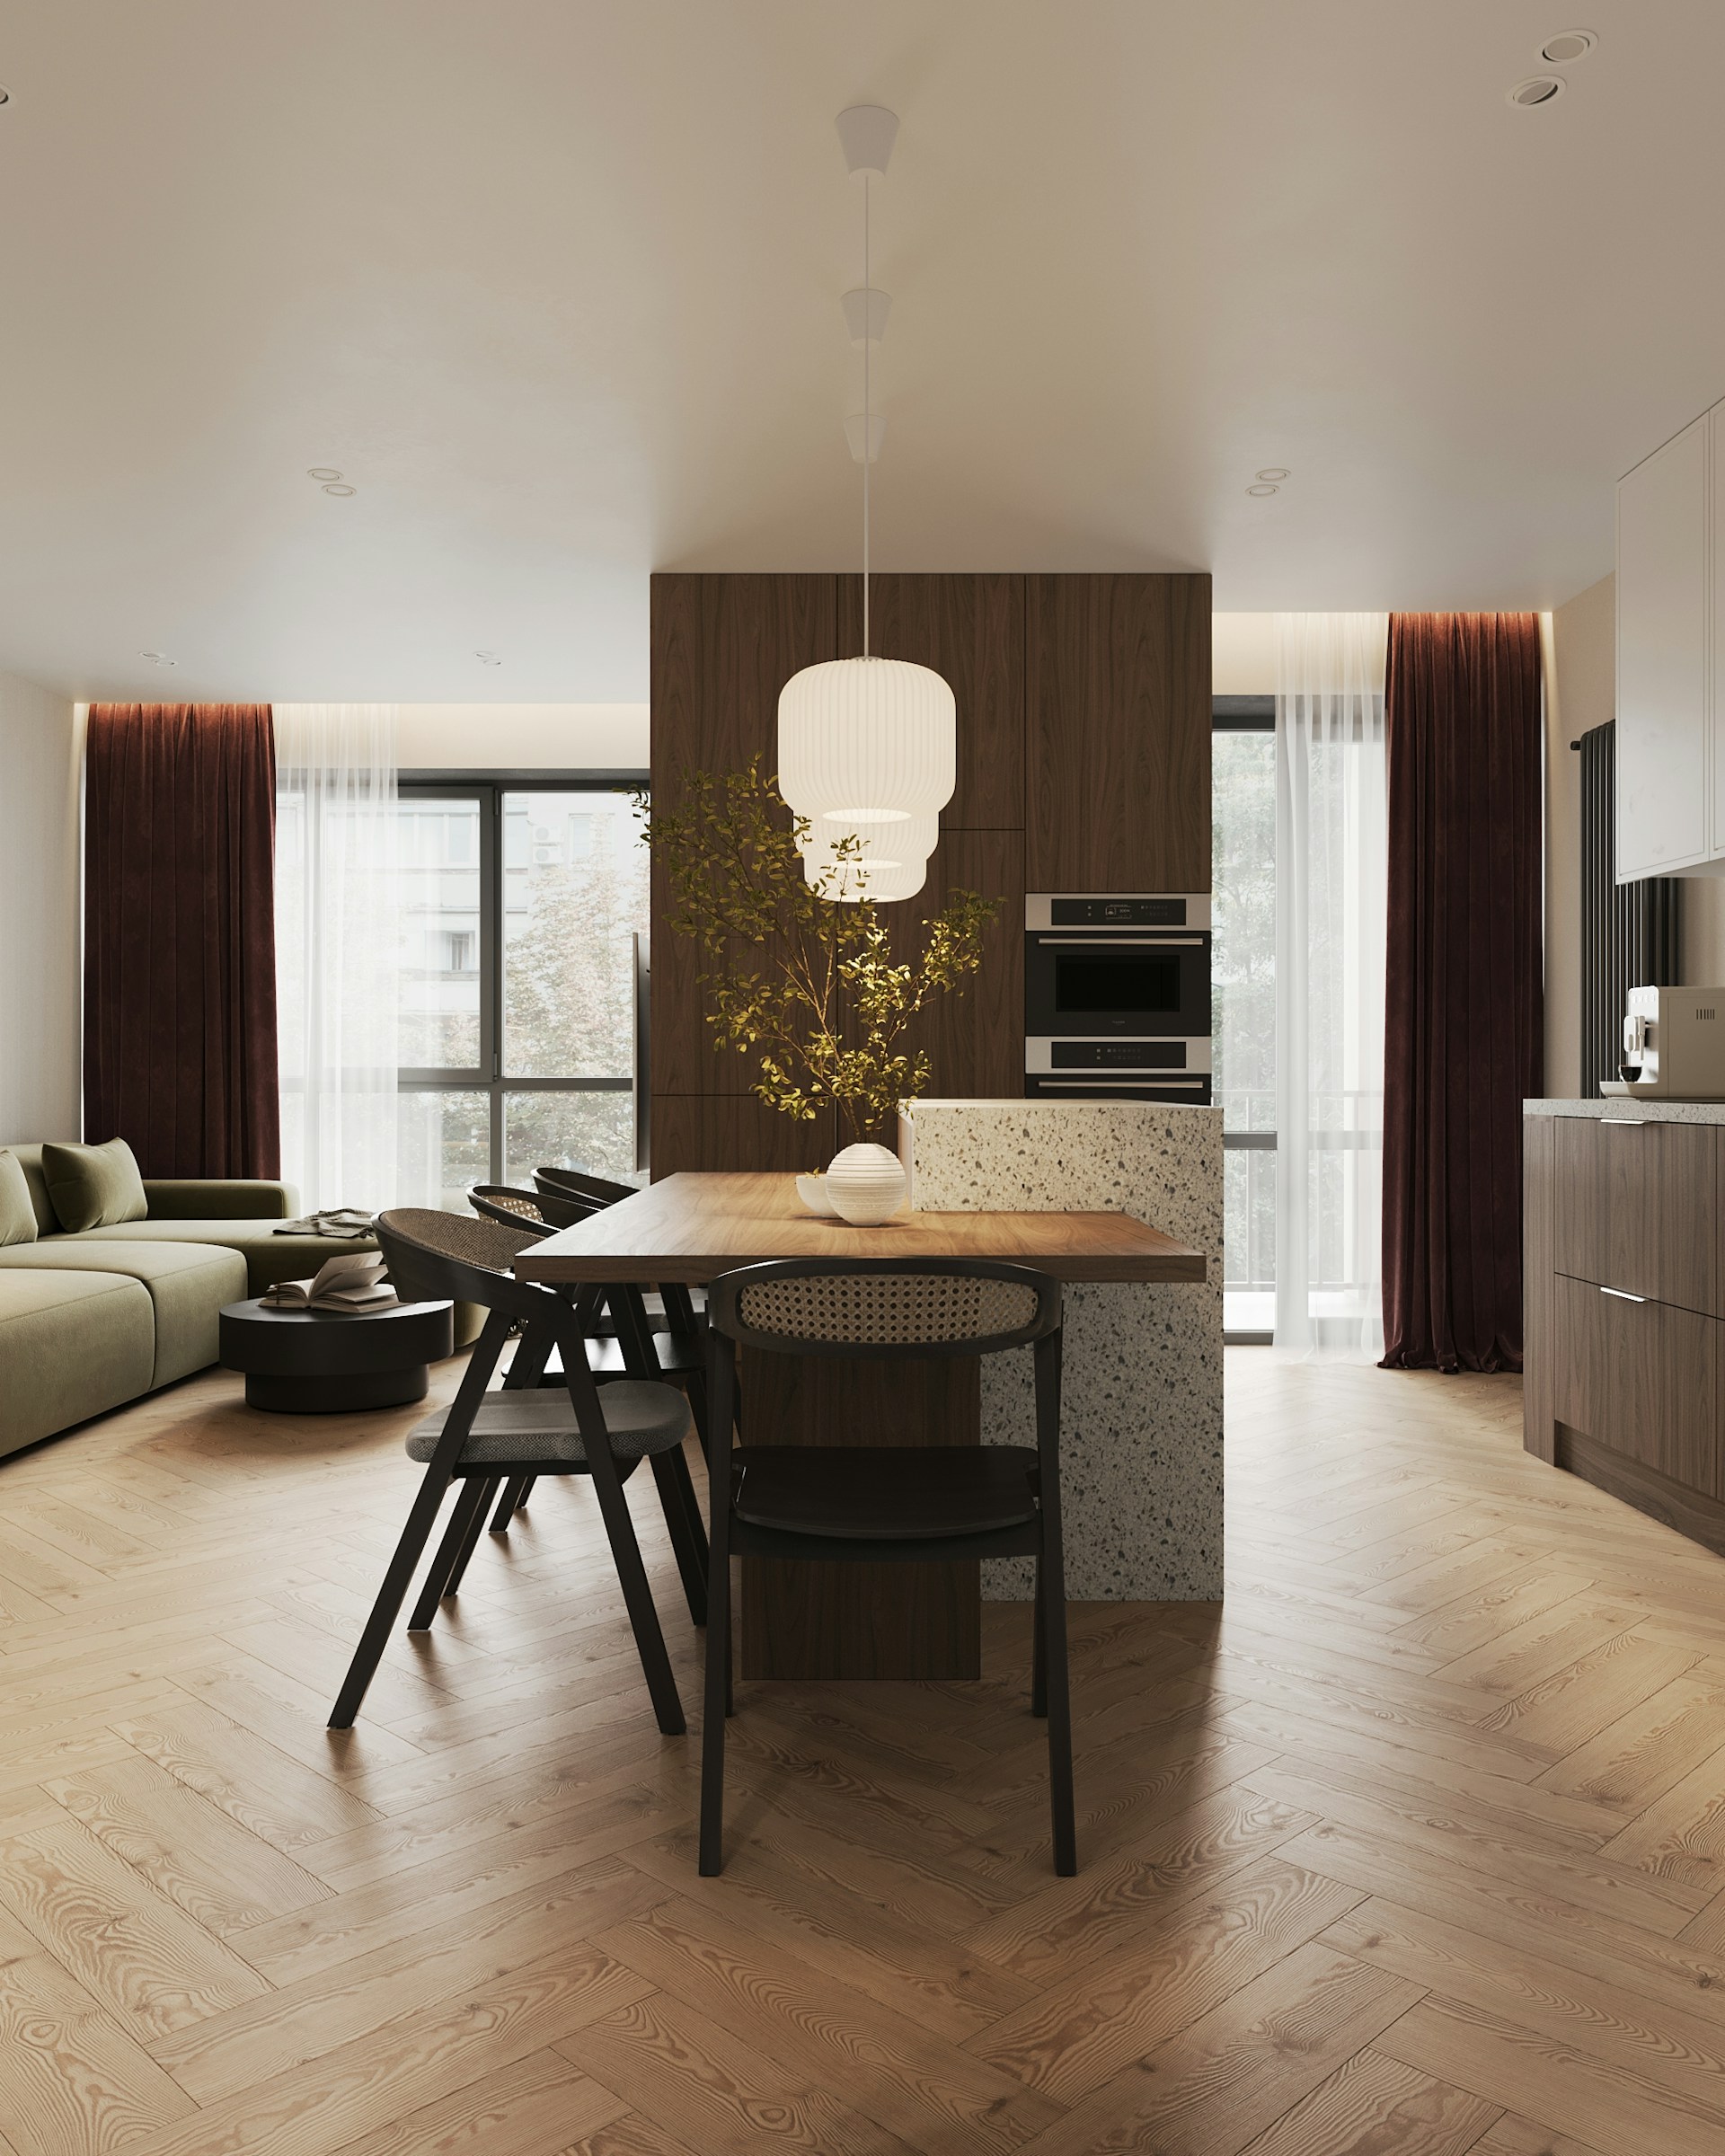
Dining
Dining in an HDB often doubles as entertaining, working, or kids’ homework station. Lighting + power = flexibility.
☐ Socket near table for hotpot/air fryer.
☐ Pendant lights 750–800mm above table.
☐ Table-to-wall clearance: min 800mm.
☐ Bench depth: 450–500mm (with storage below).
☐ Tricolour lighting for different moods - warm for intimate chill nights, cool white for daily living, daylight for study + work (but we think cool white is bright enough).
☐ Buy extendable dining tables to cater for big gatherings and be able to downsize during normal days to get more walking space.
Watch out
- Oversized dining sets can eat into walkways. Scale table to your flat, not Pinterest.
- Low-hanging pendants should still allow clear sightlines.
Bomb Shelter / Storeroom
This is your “overflow space”. With good racks, it becomes functional — without it, it becomes a black hole.
☐ Shelves depth: 300–400mm.
☐ Modular racks (HDB rules: no drilling into walls).
☐ Vent holes unblocked.
Watch out
Don’t build permanent fixtures — you’ll get fined during HDB inspections.
Balcony / Recess Area
Balconies/recess areas can be an oasis, but only if weatherproofed and practical.
☐ HDB approval if enclosing.
☐ Waterproof outdoor sockets.
☐ Decking with removable panels (for floor trap).
☐ Planter box depth: 300–400mm.
☐ Motorised blinds wiring.
☐ Outdoor fan/light sockets.
Watch out
Avoid heavy built-ins — weight restrictions apply.
Whole House
General things you should take note of:
☐ Router in central location.
☐ Smart switch compatibility (check neutral wiring).
☐ Lighting tones:Warm (2700–3000K) for living/bedrooms.
- Neutral (4000K) for kitchen/study.
- Multi-split aircon sized properly (don’t undersize).
☐ Tile flooring is harder and more durable, they can withstand drops and scratches better, but feel colder in the morning after a night of air-conditioning.
☐ Vinyl flooring is softer on the feet and feel warmer. This is appealing to elderlies who don’t like cold floors when they wake up.
☐ Parquet flooring looks and feels more luxurious, but they are weak against drops, scratches and water spills.
Watch out
Over-customisation (e.g., too many built-ins) reduces flexibility — leave some areas adaptable.